How To Take Apart A Roku Remote. Prying the remote apart is for the remote that has no screw. If the remote of Roku has screws, then unscrew the remote and grab the remote in your hand. Place your hands on the opening sides of the remote and pry it.
I was watching a movie when my remote fell from the table onto the ground. The remote didn’t show damage on the outside, but when I shook it a bit, it sounded like a broken thing moving inside the remote.
I tried to check if the remote is working but it wasn’t. I decided to dismantle the remote and check to see what was broken in the remote. The method of opening a remote, especially by Roku is simple. I opened my remote easily.
How To Take Apart A Roku Remote
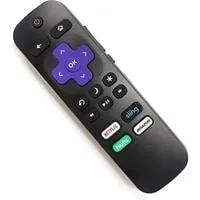
Having a Roku remote not working is annoying, but not knowing how to open the remote is more annoying. The opening of the Roku remote actually depends on the type of remote.
The type of remote varies by model. There are two main types of remotes when you need to open them. The 1st type is remotes that are not screwed.
The 2nd type of remotes, depending on the opening, is the remote that is closed by screws. If your remote doesn’t have screws, prying it open is the fastest way. If your remote does have screws, then opening the screws first and prying them later is your trick.
With screws
Let’s open the remotes with screws 1st as the remotes with screws are the most used remotes. If the remote of your Roku is closed with screws, then this method will help you open the remote with detailed steps. Opening a remote with screws isn’t difficult as it sounds.
Removing the cover
If you are opening the remote with screws, you need to place the remote on a flat surface. Put the remote on a table where you can open the remote easily.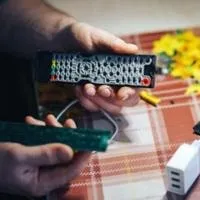
Place the backside of the remote facing upwards as the screws are present on the back side of the remote. Not just the screws, but the cover on the battery compartment is also on the backside. Removing the cover from the compartment isn’t difficult.
As you have already placed the remote facing downward, you just need to put your thumb on the cover and hold the remote with the other hand. Then use the thumb to slide the cover towards yourself or the edge and the cover will open.
As you slide the cover in the outwards direction, you will see that the batteries of the remote come in view. Put the cover of the remote on the side.
Removing the batteries
Removing the batteries from the remote is really easy. You just need to pull the batteries out. If you can’t pull them out, use a flat screwdriver to lift them and then remove them. Place the batteries on the side. Move next.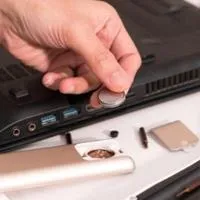
Unscrewing
There is only one screw on the remote outside. the screw is located between the portions of both batteries at the center. The screw is 6.9mm, so match the screwdriver with it.
Place the screwdriver on the screw and start turning it counterclockwise. The screw will come off. Place the screw on the side.
Without screws/ Wedging
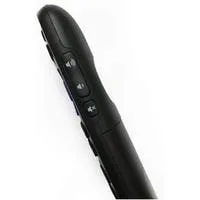
The steps for the remote without a screw are the same from here on, so they are written mutually. Using a plastic wedge tool, create a gap between both sides of the plastic to grab it.
Prying and opening
After the gap has been made, don’t pry it without restrictions. The opening will require force but don’t use excessive for open the remote slowly and gently without breaking the remote locks.
As enough gap is created, bring your fingers between the plastic remote and gently open the remote. Lift the side you removed gently.
Removing the board/sheet
Place your thumb on the left side of the board and try to loft the bard up. The board will be lifted easily and you can place the board on the side. Under the board, you’ll see a sheet. You can grip the sheet from one side and gently remove the sheet and place it on the side.
Removing the buttons
After the sheet has been removed from the remote, you’ll see the back side of the buttons. Just grab on side of the buttons and remove them. The remote has been completely dismantled.
The last word
A remote that needs opening isn’t a mountain that can’t be climbed. If you want to open a Roku remote, follow the above steps. The steps of remotes with screws and remotes without screws are similar after a point. Read them both above and fix your Roku remote. Thanks for reading.
Related Guides